
Define and validate recovery scope beyond a row export or persistent Docker volume.
Inventory What Must Come Back Together
The official backup guide separates Postgres data/metadata, attachments and stack configuration. Default filesystem attachments and an S3-compatible bucket need different protection paths. Use the layout of your deployment rather than assuming a volume name from another installation.
Create a recovery manifest with each item’s owner, location, capture time and restoration method. Keep credentials protected separately from public configuration examples. Record how the authorized operator obtains them during recovery without putting their plaintext values into the manifest.
Documentation: NocoDB backup and restore scope
Choose a Recovery Point with a Meaning
Hypothetical example: a team records inspection results and uploads evidence photographs. Restoring Monday’s rows with Sunday’s files can leave an inspection referring to a missing photograph. Decide how the database and attachments will correspond before scheduling copies.
Write the tolerable amount of lost work and acceptable recovery interruption in the team’s language. Then choose capture frequency and retention to support that need. The existence of a daily task says nothing about whether yesterday’s output completed, can be read or contains the required files.
Restore into a Separate Destination
Use the official instructions for your actual database and storage provider. This article does not provide a tested command bundle. In an isolated environment, restore the components, apply protected configuration and check the version assumptions before letting real users or integrations connect.
Build a synthetic recovery fixture with a linked record, an attachment and a formula. Save its IDs and expected meaning before the drill. A login page only proves the application responds; the fixture shows whether an important workflow remains usable.
- Confirm the selected backup files exist and record their checksums.
- Prepare an isolated destination and compatible release.
- Restore the database using its supported procedure.
- Restore the corresponding attachment store.
- Apply protected configuration and verify access.
- Check record IDs, links, files and formula outputs.
- Record actual duration, failures and manual steps from the drill.
Review the Plan After Any Storage Change
A new object-storage bucket, an external database or a changed deployment directory can invalidate old instructions. Recheck the manifest whenever a persistent component moves. Include the off-host copy and the process for detecting failed captures in routine operations.
Treat a successful drill as evidence for the configuration exercised, not a promise that every later restore works. Retest after material changes and retain the last known working instructions. This project has not performed the described recovery drill or established a recovery-time figure.
Recovery manifest template for a hypothetical inspection workflow
This is an illustrative worksheet to adapt to your own evaluation. It is not a measured product test or a claim about results in your installation.
| Component | Capture record | Restoration acceptance |
|---|---|---|
| Database | Time, version and backup identity | Known records and relationships |
| Attachments | Matching store and capture identity | Sample files open |
| Configuration | Protected source and release | Correct instance and storage paths |
| Access | Authorized recovery owner | Expected roles and integrations verified |
Back up the complete recovery set, keep an off-host copy and prove the workflow in an isolated restore. A data export alone is a narrower artifact.
Inspect the official interface evidence
These previously captured interfaces provide orientation. Their versions and dates are distinct from the documentation review above.
Inspect the interface, with its context.
Open a specimen to see the source image and the observations it supports. A vendor demonstration is distinct from a self-hosted installation.
NocoDBHistorical vendor product image · Image identifies v2.3; not the current release
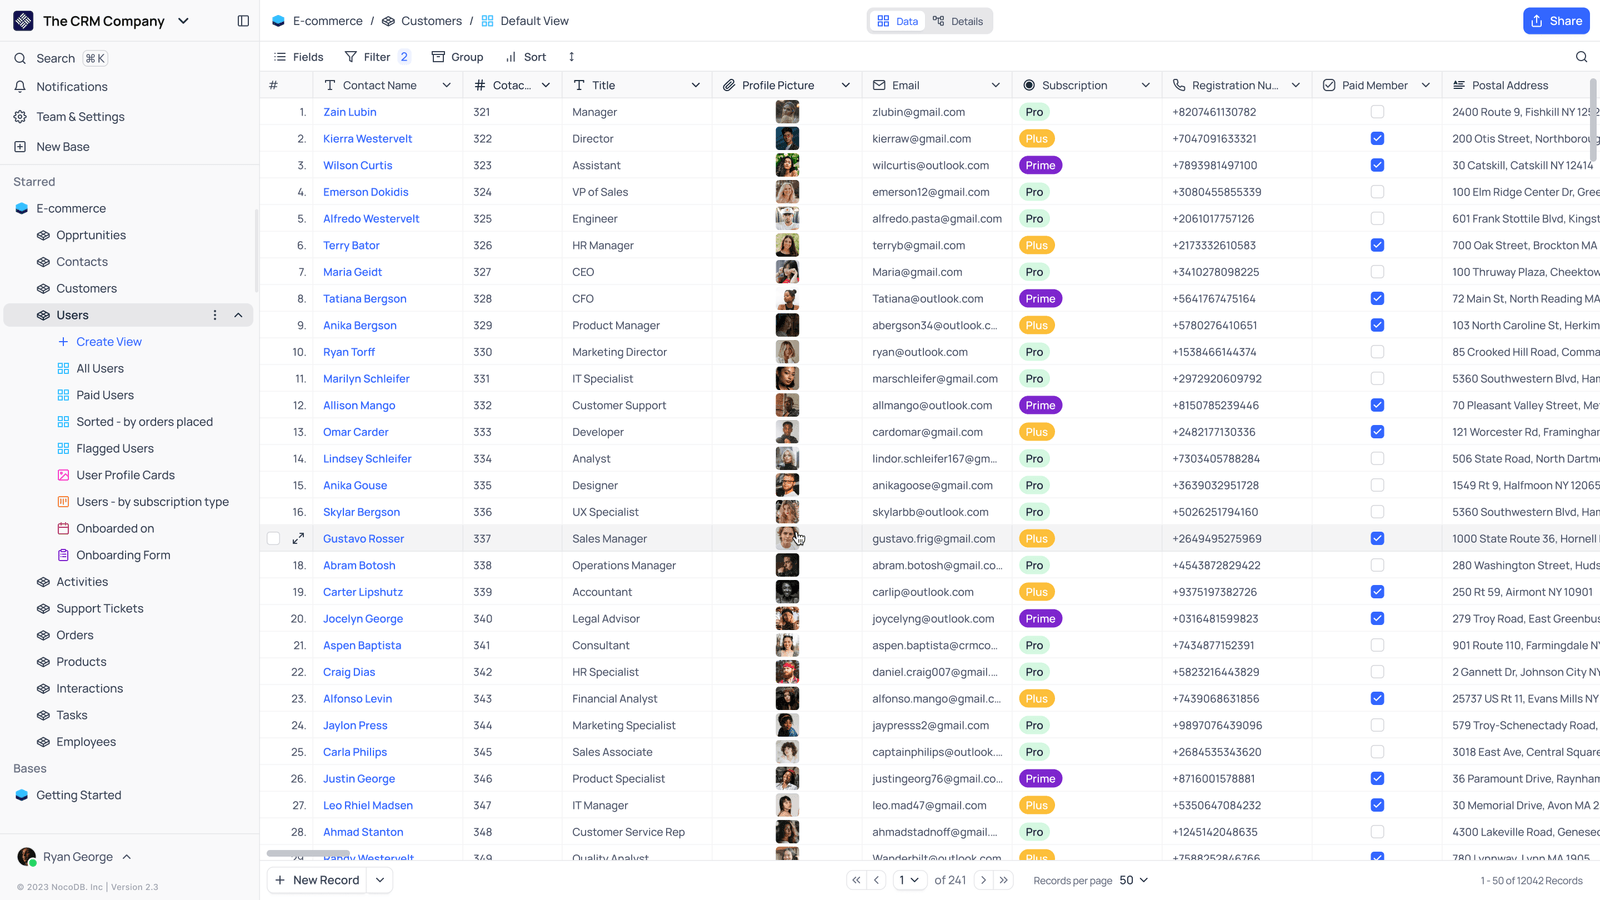
- Saved viewsThe vendor image shows several named views in the left navigation.
- Grid controlsFields, filtering, grouping and sorting appear above the record grid.
- Typed columnsThe example includes text, email and labelled select values. Check the current edition for availability.
Check the facts and their boundaries.
Official documentation supports the product statements. The evaluation procedures and synthetic examples are editorial guidance. We have not independently run the installation, migration or recovery procedures described here.
Official database, attachment and configuration backup paths; no restore drill performed. Reviewed 2026-11-01.